You don’t need a huge budget to completely transform your bathroom. In fact, with a little creativity and a few supplies from your local DIY shop, you can achieve an amazing job using nothing more than your own two hands.
Whether you're tackling a full DIY bathroom remodel or just want to refresh your existing shower, there's no need to rip everything out and start from scratch.
Many of the best results come from clever updates—simple DIY projects that make a big visual impact without draining your wallet.

From cleaning tips and clever storage hacks to resurfacing your shower tiles and updating your shower head, this guide is packed with smart, budget-friendly bathroom remodel ideas you can try yourself. Think of it as a practical step-by-step guide to a diy shower remodel that won’t break the bank.
Before you commit to a costly overhaul, scroll through these eight smart ideas for a bathroom makeover that feels fresh, modern, and totally doable.
1. Paint Your Tiles
Painting your shower tiles might sound a bit unconventional at first, but it can completely transform your space — and it’s one of the most affordable updates you can make in a DIY bathroom remodel.
Ripping out tiles and starting fresh is costly, messy, and time-consuming. But with the right tools, you can refresh your shower walls in just a weekend. All you’ll need is a specialist tile paint (suitable for high-moisture areas), a good primer, and a set of quality paintbrushes or rollers.
You can keep it simple with a solid colour that matches your new decor or get creative by painting patterns for a unique look. Geometric shapes, monochrome accents, or even Mediterranean-inspired motifs can add loads of character to your bathroom.
Whether you’re refreshing a tile shower in the en-suite or giving a tired main bathroom a lift, this simple update delivers maximum impact for minimal effort — a brilliant first step in your DIY bathroom journey.
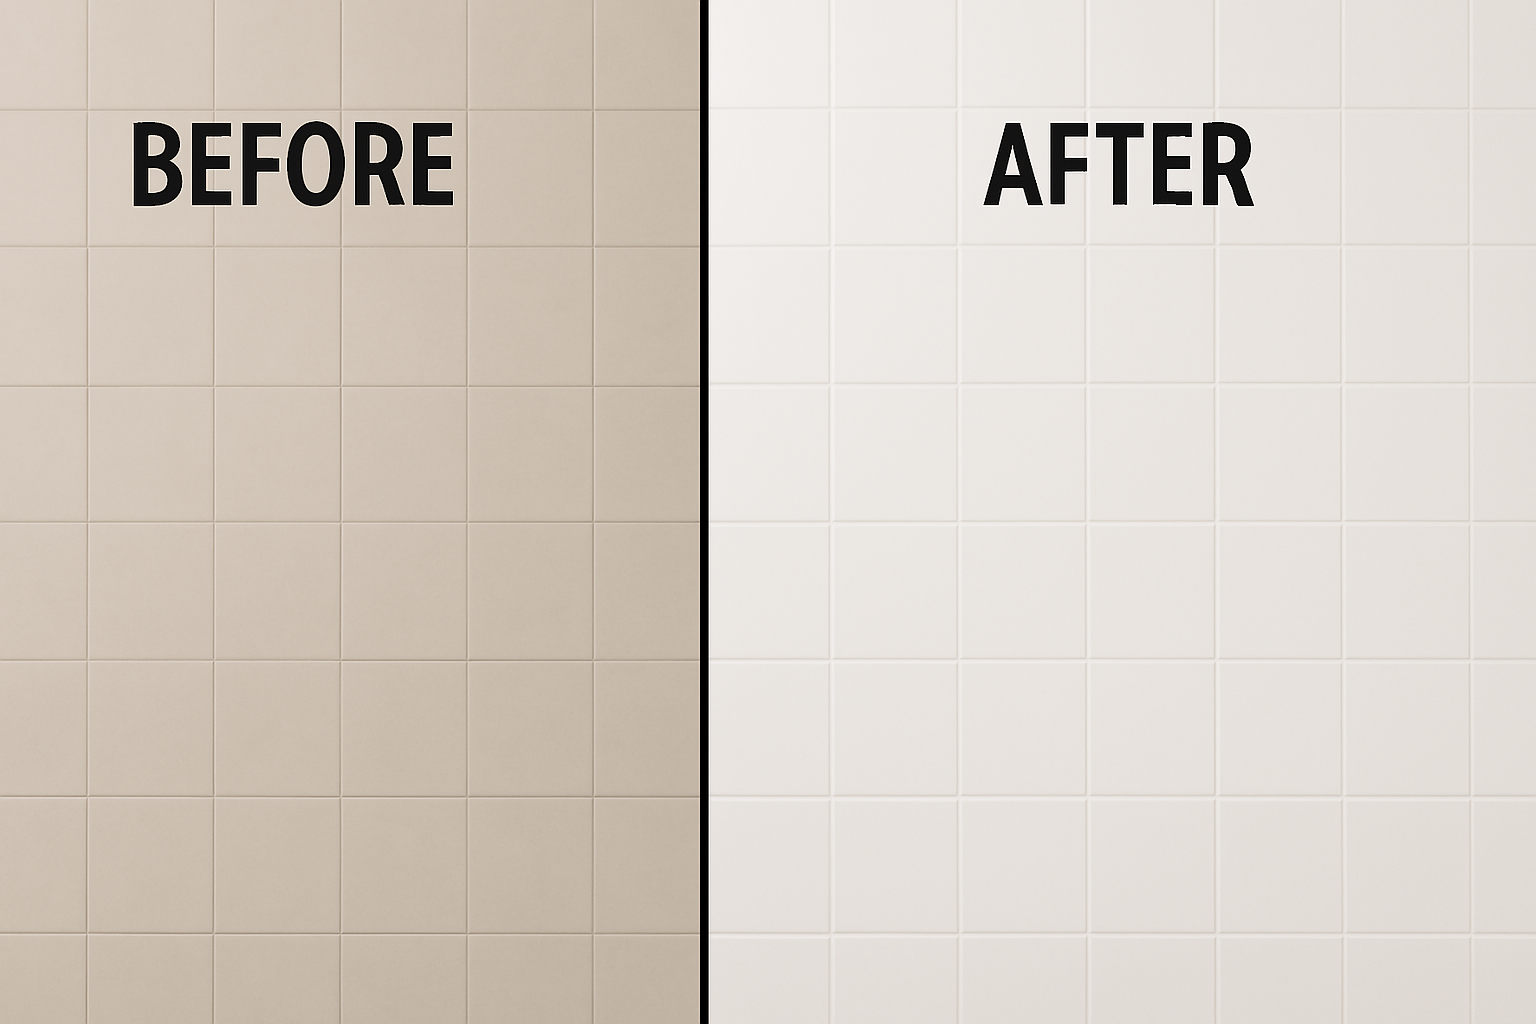
Pro Tip: if you’ve got any leftover tiles in storage, practise your design or brush technique on those first before committing to your existing shower.
2. Organise Your Space with a Shower Caddy
A cluttered shower floor isn’t just unsightly — it can lead to soap scum, grime build-up, and even the risk of slipping. If your toiletries are currently perched along the edge of the bath or scattered about, it’s time for a simple, stylish fix: a shower caddy.
A caddy keeps all your essentials — from shampoos and razors to facecloths and loofahs — neatly stored and within easy reach. It also helps keep your shower floor clear, which makes cleaning faster and prevents mould and mildew from forming in hard-to-reach corners.
There are loads of affordable options available, whether you're after something freestanding, corner-mounted, over-the-door, or suction-based. With so many styles to choose from, you're sure to find one that complements your décor — even if you're mid-bathroom renovation.
It’s a small change, but it can make a surprisingly big difference to the look and feel of your DIY bathroom.

3. Refresh or Replace Your Shower Screen
You don’t always need to buy a new shower screen to give your space a cleaner, more modern look — sometimes, a deep clean is all it takes to make it sparkle like new.
Over time, limescale and soap residue can leave your shower walls looking cloudy and dull. To tackle this, mix baking soda with white vinegar and apply the paste to the glass using a soft cloth. Gently scrub, rinse with warm water, and repeat as needed.
This natural method does a brilliant job of cutting through the grime without harsh chemicals.
If your current screen is scratched, stained, or beginning to splinter, it might be time for a full replacement. Don’t worry — swapping out a screen is a straightforward DIY project, and new models can be surprisingly budget-friendly.
Whether you go for a clear glass panel, frosted screen, or something frameless for that sleek, walk in shower look, updating this one element can dramatically elevate your diy shower remodel.
4. Swap Out Your Shower Head
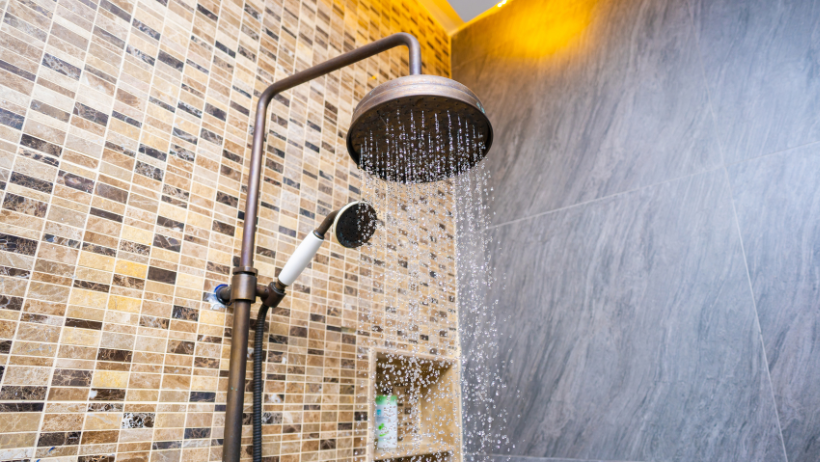
Upgrading your shower head is one of the easiest ways to refresh your space — and one of the most satisfying. Not only does a new shower head improve water pressure and energy efficiency, but it can also add a sleek design touch that enhances your overall shower design.
Best of all? It's a quick and budget-friendly DIY bathroom remodel task that you can complete in under 30 minutes. Here’s a simple run-through:
There are plenty of great options out there, from rainfall styles and handheld models to water-saving designs — so whether you’re going for spa-like luxury or everyday practicality, there's something to suit your needs and budget.
Need help choosing the right one? Our buyer’s guide has you covered.
A fresh shower head doesn’t just improve your showering experience — it gives your bathroom a small but noticeable style boost that ties in beautifully with a wider bathroom renovation.
5. Kill the Mould
Let’s be honest — there’s no shame in having a bit of mould in your bathroom. It happens to all of us, especially during the colder months when ventilation isn't great and everything stays damp for longer than it should.
The good news? Getting rid of it is easier than you might think, and it’s a brilliant first step in giving your existing shower a cleaner, fresher feel.
Where the mould is growing will affect how you deal with it:
- On the paintwork – A diluted bleach solution can help remove mould on the surface, but it’s not always a long-term fix. If it keeps coming back, the best approach is to scrape the paint off, treat the area with mould spray, and repaint using proper bathroom paint that’s designed to resist damp.
- On your tiles or grout – This is a common one. A bit of soapy water and elbow grease usually does the trick. For tougher areas, try a paste made from baking soda and vinegar, or use a specialised grout brush with mould remover.
- On the sealant – If mould has made its way into the silicone around your shower tray or shower walls, the best solution is to cut it out and reapply fresh sealant. It looks neater, protects your surfaces, and is much better for your health.
For long-term prevention, consider a small dehumidifier or make sure your extractor fan is working properly. And if you’re thinking about a more in-depth DIY bathroom update in the future, adding a waterproofing membrane behind the tiles is a great way to stop moisture building up behind the scenes.
These fixes don’t just make your shower look cleaner — they make it feel healthier too, and that’s what a great DIY bathroom remodel is all about.
How to Treat Mould in Different Bathroom Areas
Mould Location | Common Causes | Signs to Look For | Recommended Treatment |
|---|---|---|---|
Tiles & Grout | High humidity, poor ventilation, soap residue | Black spots between tiles, discoloured grout | Scrub with soapy water or a paste of baking soda & vinegar. Use a mould remover if needed. |
Paintwork (Walls/Ceiling) | Condensation, steam buildup, lack of airflow | Peeling paint, grey or black patches on walls or ceiling | Clean with diluted bleach or mould spray. Repaint using mould-resistant bathroom paint. |
Sealant / Silicone | Water pooling, aged or cracked sealant | Black mould growing in sealant joints around bath or shower tray | Cut away old silicone and reseal with anti-mould bathroom-grade sealant. |
Further Reading: How to Remove Mould from Shower
6. Cover It Up or Re-Surface — Don’t Replace What Still Works
Here’s a little reminder we all need sometimes: just because something looks a bit tired doesn’t mean it needs to go. A lot of the time, your bathroom renovation doesn’t need to involve ripping things out — a clever cover-up or a quick refresh can do the job beautifully.
Got bathroom cabinets that look a bit worn? A light sand and a coat of paint (maybe something bold and modern, or just fresh white) can bring them straight back to life. You could even swap out the handles for something sleek to complete the look.
If your bathroom floor or lower walls are looking scuffed or marked, fitting a wainscot panel is a great way to hide imperfections without having to replaster or re-tile. It’s especially handy if your back walls are older and prone to dings.
Thinking about updating a tile floor or prepping for a bigger DIY bathroom remodel later on? Consider using cement board to create a flat, water-resistant surface over existing materials before laying new tiles or vinyl. It’s cost-effective and gives you a solid base to work from.
The point is: if it’s not broken, don’t bin it — give it a second life. You’d be surprised how far a few simple fixes can go toward creating a clean, modern look without blowing your budget.

7. Look for Budget-Friendly Swaps That Still Look Brilliant
Let’s face it — not everything in a bathroom remodel has to cost a fortune. In fact, one of the smartest things you can do is look for low-cost substitutes that still look the part. These days, affordable doesn’t mean cheap in quality — and that’s especially true for things like tiles, fittings, and flooring.
Vinyl and laminate flooring, for example, have come a long way. Some styles mimic wood or stone so well, you'd never guess they weren’t the real thing — perfect for a DIY bathroom remodel on a tight budget.
Similarly, if you're after a stylish tile shower look, you can find brilliant peel-and-stick tiles or budget ceramic options that still give a luxury finish.
Replacing a full shower pan or shower enclosure can get pricey — but sometimes, resurfacing or using a liner can be just as effective (and much easier on your wallet). And if you’re shopping for furniture, don’t rule out second-hand options either. A quick search online or a trip to a charity shop could lead you to something you can upcycle into a statement piece.
You don’t need all the tiles, top-end new fixtures, or designer taps to create something that feels high-end. It’s about mixing and matching clever choices — something anyone can do, especially if you’re up for a bit of DIY.
8. Refinish Your Tub or Shower Instead of Replacing It
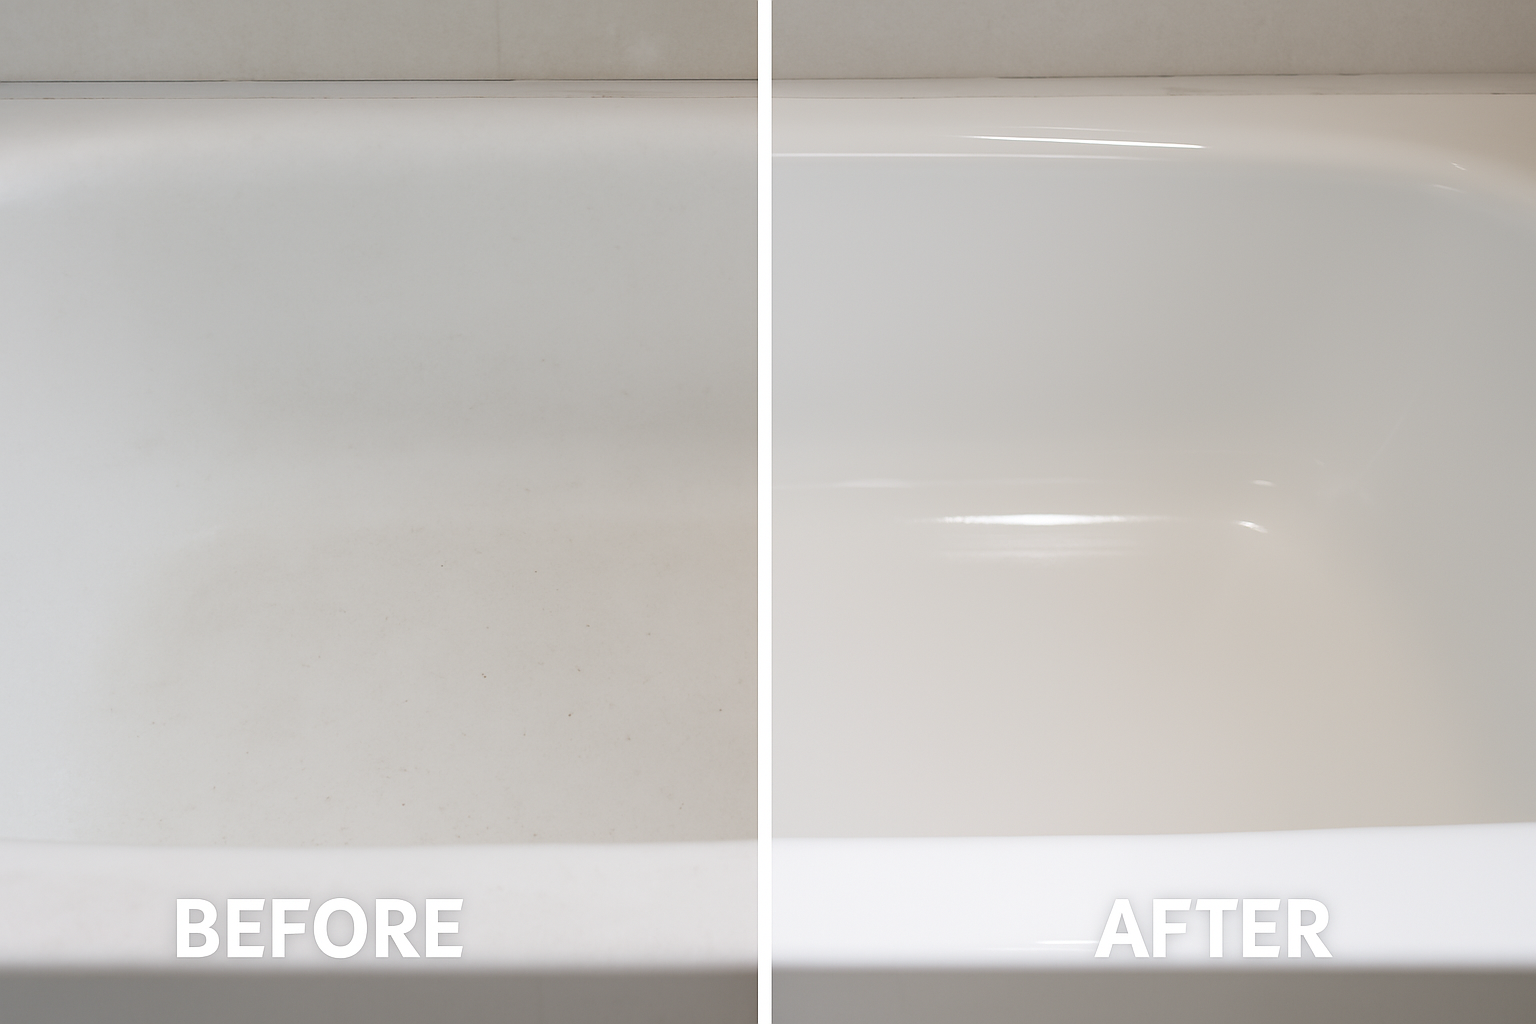
We’ve all been there — looking at a tired old bath or stained shower tray and thinking it’s time for a full replacement. But here’s the thing: in many cases, a bit of cosmetic wear doesn’t mean it needs to go. It might just need a refresh.
Marks, small chips, or yellowing are pretty common, especially over time. But rather than ripping the whole thing out, you can use a refinishing kit to restore the surface and make it look almost new again. It’s much cheaper than buying a new bath or shower, and perfect if you’re working through a bigger DIY bathroom remodel and want to keep costs down.
Another option is using a liner — a fitted insert that sits over your existing bath or shower tray. While this can offer great protection and an instant visual upgrade, it tends to be pricier and usually needs professional installation. Plus, it won’t always look as sharp as a freshly refinished surface.
So before you start shopping for replacements, have a look at what a bit of refinishing can do. You might be surprised just how far a good scrub, a repair kit, and a few hours of your time can go.
Bonus Tips: Little Fixes That Make a Big Difference
While the main makeover jobs can give your shower area a whole new look, it’s often the little things that pull everything together. Here are a few extra bits of advice that can really elevate your results — whether you’re halfway through your project or just getting started.
#1 Replace Your Shower Door Rollers
If your shower doors have started sticking, squeaking, or just not sliding like they used to, it’s probably time to replace the rollers. It’s a quick job, and most roller sets are inexpensive and easy to fit yourself — just make sure to get the right size or brand for your door.
#2 Remove and Replace Old Silicone
Silicone sealant doesn’t last forever. Over time, it can peel away, crack, or discolour — and if it’s mouldy, no amount of scrubbing will make it look fresh again.
Carefully cut out the old sealant with a removal tool and apply a clean new bead around your shower tray or bath edges. It’s a small job, but it makes a massive difference.
#3 Freshen Up the Grout
Even if your tiles are in good condition, grubby grout can make the whole space feel worn. You can clean it with a specialist grout pen or, if it’s beyond saving, regrout it completely for a crisp, clean finish. It’s a great way to bring life back into your tile shower without replacing a single tile.
#4 Improve Your Lighting
Lighting can totally change the atmosphere of your bathroom. If your current setup feels harsh or outdated, consider switching to soft white bulbs or adding a moisture-safe feature light for a spa-like feel. You can also clean or update your existing light fittings for a quick visual lift.
#5 Use Mirrors to Open Up the Space
A well-placed mirror not only helps with your morning routine but also makes the room feel bigger and brighter. If you’re short on space or natural light, adding a larger mirror — or even mirrored wall tiles — can be a smart design trick.
#6 Add Some Personality
Don’t forget to bring in a few personal touches. A plant on the windowsill, a patterned bath mat, or a pop of colour in your towels can tie the room together and make it feel more like you. These details matter — especially when you’re doing it all yourself.
These small finishing touches are quick wins that bring character, cleanliness, and comfort to your DIY bathroom refresh. Once they’re in place, you’ll really start to feel the transformation.
Also Read: Tips for Replacing Tile Grout

To Conclude
Giving your shower — and your bathroom — a bit of a facelift doesn’t have to mean tearing everything out or spending a small fortune. With a few smart updates, a bit of effort, and some creativity, you can completely change the look and feel of the space without needing a full renovation.
Whether it’s scrubbing up the screen, switching out the shower head, or finally sorting that mouldy sealant, these small fixes really do add up. They’re proof that a fresh, stylish bathroom is well within reach — even on a modest budget and even if you’re doing it all yourself.
So, which project are you going to tackle first? Maybe you’ve already started! We’d love to know how you’re getting on — feel free to share your ideas, wins, and questions in the comments below. After all, every great makeover starts with a bit of inspiration and a can-do attitude.