If the “drip, drip, drip” of a leaking shower head is driving you mad, you’re not alone. That relentless trickle isn’t just annoying — it’s slowly racking up your water bill and leaving behind stains and scale you’ll soon regret.
Even a small leak can snowball into costly water damage if left unchecked. That’s why fixing a dripping shower head is one of those little jobs that’s worth doing right now — and luckily, it’s often a simple fix you can handle yourself.
In this guide, we’ll walk you through how to stop a dripping shower head, from identifying the root cause to replacing parts like washers, valves, and cartridges. With a few tools and a little time, you can silence that drip and restore your shower to full flow.
Let’s get started.
![How to Fix a Leaking Shower Head (DIY Guide) [UK 2025]](https://www.steamshowerparts.co.uk/wp-content/uploads/2025/04/How-to-Fix-a-Leaking-Shower-Head-DIY-Guide-UK-2025-.png)
Why Is My Shower Head Leaking?
Before you grab a wrench, it’s worth figuring out why your shower head is dripping in the first place. While some issues are easy fixes, others might point to deeper plumbing problems.
Here are the most common culprits:
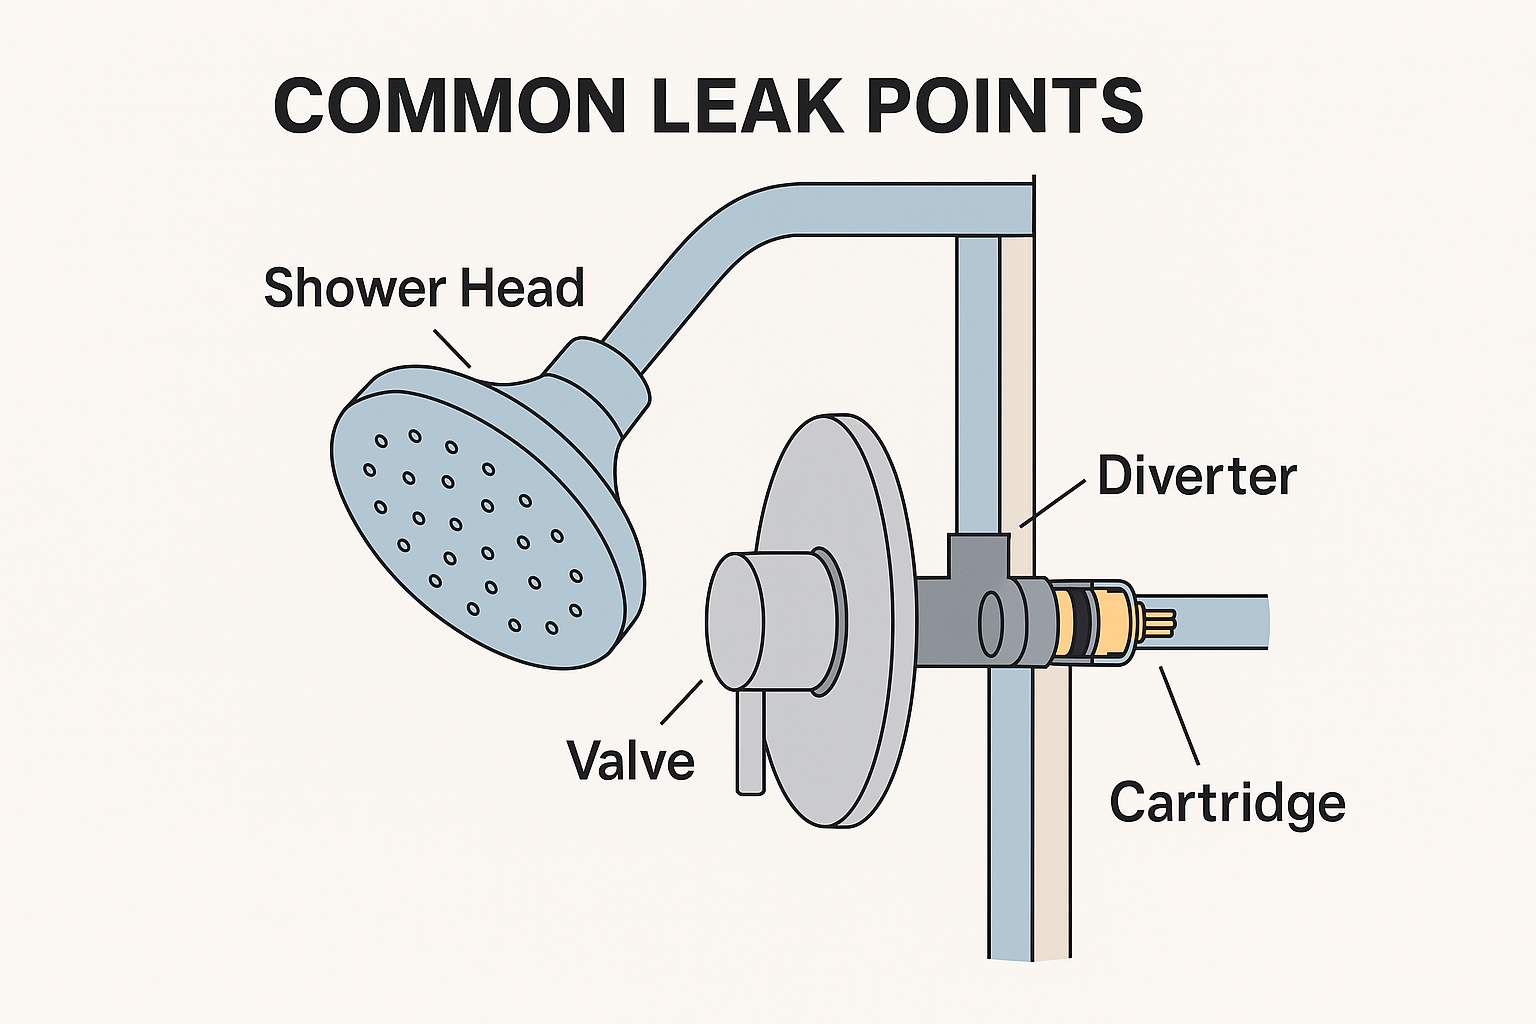
1. Worn-Out Rubber Washers or O-Rings
These little rubber rings create a watertight seal inside your shower head and valve. Over time, they can crack, harden, or break down — which lets warm water sneak through the gaps and drip out even when the shower is off.
2. Limescale or Mineral Build-Up
If you live in a hard water area (which most of the UK does), mineral deposits can clog up your shower nozzles. This causes water to spray unevenly or back up through the fittings, leading to leaks at the base or even at the arm.
3. Loose or Damaged Connections
Sometimes the shower head just isn’t screwed on tight enough, or the Teflon tape (that white stuff on the threads) has worn out. This can cause leaks where the shower head connects to the arm or pipe.
4. Faulty Cartridge Valve
If water keeps dripping even when the shower is turned off, the issue might be inside your shower valve — especially the cartridge. This is the part that controls the flow and mix of hot and cold water. When it wears out, water can continue to sneak through even when it’s “off.”
5. Dodgy Diverter Valve
If you’ve got a tub-shower combo, the diverter valve controls where the water flows — either to the bath tap or the shower head. A worn diverter can allow water to leak through to the shower head even when it’s not meant to.
6. High Water Pressure
Too much pressure in the system can force water past seals or damage internal parts over time. If your shower head drips intermittently — especially overnight — this might be the cause.
Quick Self-Diagnosis: What’s Your Shower Head Doing?
Use these clues to narrow it down:
Dripping constantly, even when the shower is off?
 Likely a valve or cartridge issue.
Drips for a few minutes after use, then stops?
Probably just residual water or a showerhead seal issue — an easy DIY fix.Water spraying out at odd angles or pooling at the base?
It could be clogged nozzles or a loose connection.
What You’ll Need to Fix a Leaky Shower Head
Before you roll up your sleeves, make sure you’ve got the right tools for the job. Most of these are household basics, and anything missing can usually be picked up at your local hardware store or ordered online.
Here’s what you’ll want to have on hand:
Adjustable wrench or spanner – to loosen or tighten the shower head
Screwdrivers (flathead or Phillips) – for removing faceplates or valves
Plumber’s (Teflon) tape – to reseal thread connections
Replacement rubber washers or O-rings – in case the originals are worn or cracked
White vinegar – for soaking off limescale and mineral buildup
Toothbrush or small wire brush – for scrubbing out clogged nozzles
Bucket or towel – to catch drips and avoid a mess
Flashlight – handy for seeing into awkward nooks behind handles or fittings
Top tip: If you’re unsure about washer size or valve type, take the old one with you to the shop — or snap a quick photo to show an expert.
Step-by-Step Guide to Fixing a Dripping Shower Head
Once you’ve figured out what’s causing the leak and gathered your tools, it’s time to get stuck in. Whether it’s a worn washer or a clogged nozzle, these steps will help you sort it.
Follow this process to get your shower back in shape:
1. Turn Off the Water Supply
Start by switching off the water supply to your shower. If your bathroom doesn’t have an isolated shut-off valve, you may need to turn off the main water. Run the shower briefly to make sure the flow has stopped completely.
2. Remove the Shower Head
Unscrew the shower head from the arm or shower faucet by turning it counter-clockwise. You may be able to do this by hand, but if it’s tight, use an adjustable wrench or spanner. Wrap a cloth around the fitting first to avoid scratching the finish.
3. Check for Damaged Washers or O-Rings
Inspect the rubber washer or O-ring inside the connection. If it looks cracked, flat, brittle, or missing, that’s likely your culprit. Swap it out for a fresh one that matches the size and shape.
4. Clean Out Any Mineral Build-Up
If the nozzles or the inside of the shower head look clogged or crusty, soak the whole head in a bowl of white vinegar for at least 30 minutes (longer if it’s badly scaled). Use a toothbrush or small brush to scrub off any limescale or grime.
5. Reseal the Threads
Wrap plumber’s (Teflon) tape around the threads of the shower arm to help create a watertight seal. Go around 2–3 times in a clockwise direction — this helps stop leaks at the connection point.
6. Reattach the Shower Head
Screw the shower head back onto the arm and hand-tighten. Then, give it a final gentle turn with your wrench or spanner — not too much, just enough to feel secure.
7. Turn the Water Back On and Test
Switch your water supply back on and run the shower. Check for drips or leaks around the head, the connection, or the base. If everything looks dry, job done!
Replacing Worn-Out Washers or O-Rings
One of the most common causes of a leaking shower head is a worn rubber washer or O-ring. These small parts are designed to form a watertight seal — but over time, they can crack, flatten, or perish, especially with frequent use or hard water.
The rubber washers in your shower act as a seal between your shower head and hose, preventing water from leaking out. When they wear down, water can escape even when everything looks tight.
How to Fix It:
Remove the shower head from the arm, using an adjustable spanner if needed.
Look inside the connection for a washer or O-ring (a small black or white rubber ring).
Check its condition — if it looks brittle, thin, cracked, or is missing altogether, it needs replacing.
Swap it out for a new washer of the same size. If you’re unsure, take the old one to your local hardware store for an exact match.
Reseal the thread with plumber’s tape and reattach the shower head securely.
Tip: If you’ve had the same shower head for years, it’s worth replacing all the washers and seals at once. It’s a quick job and could save you another leak down the line.
Cleaning a Clogged Shower Head
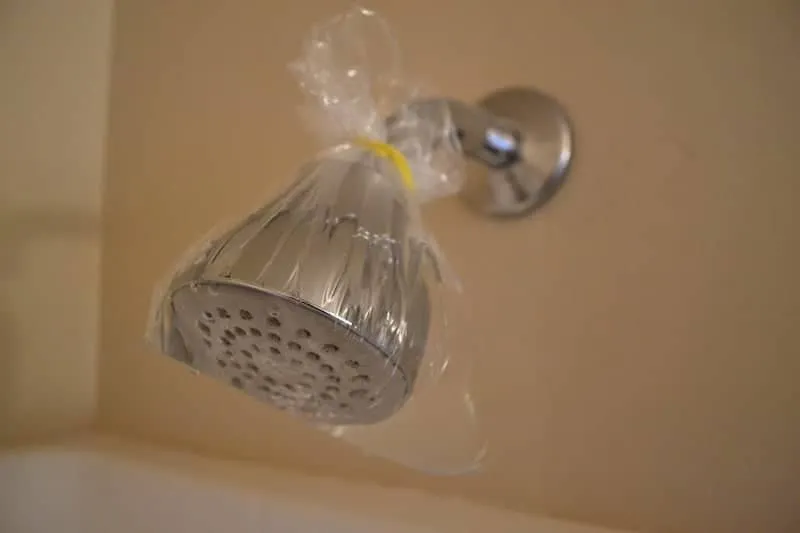
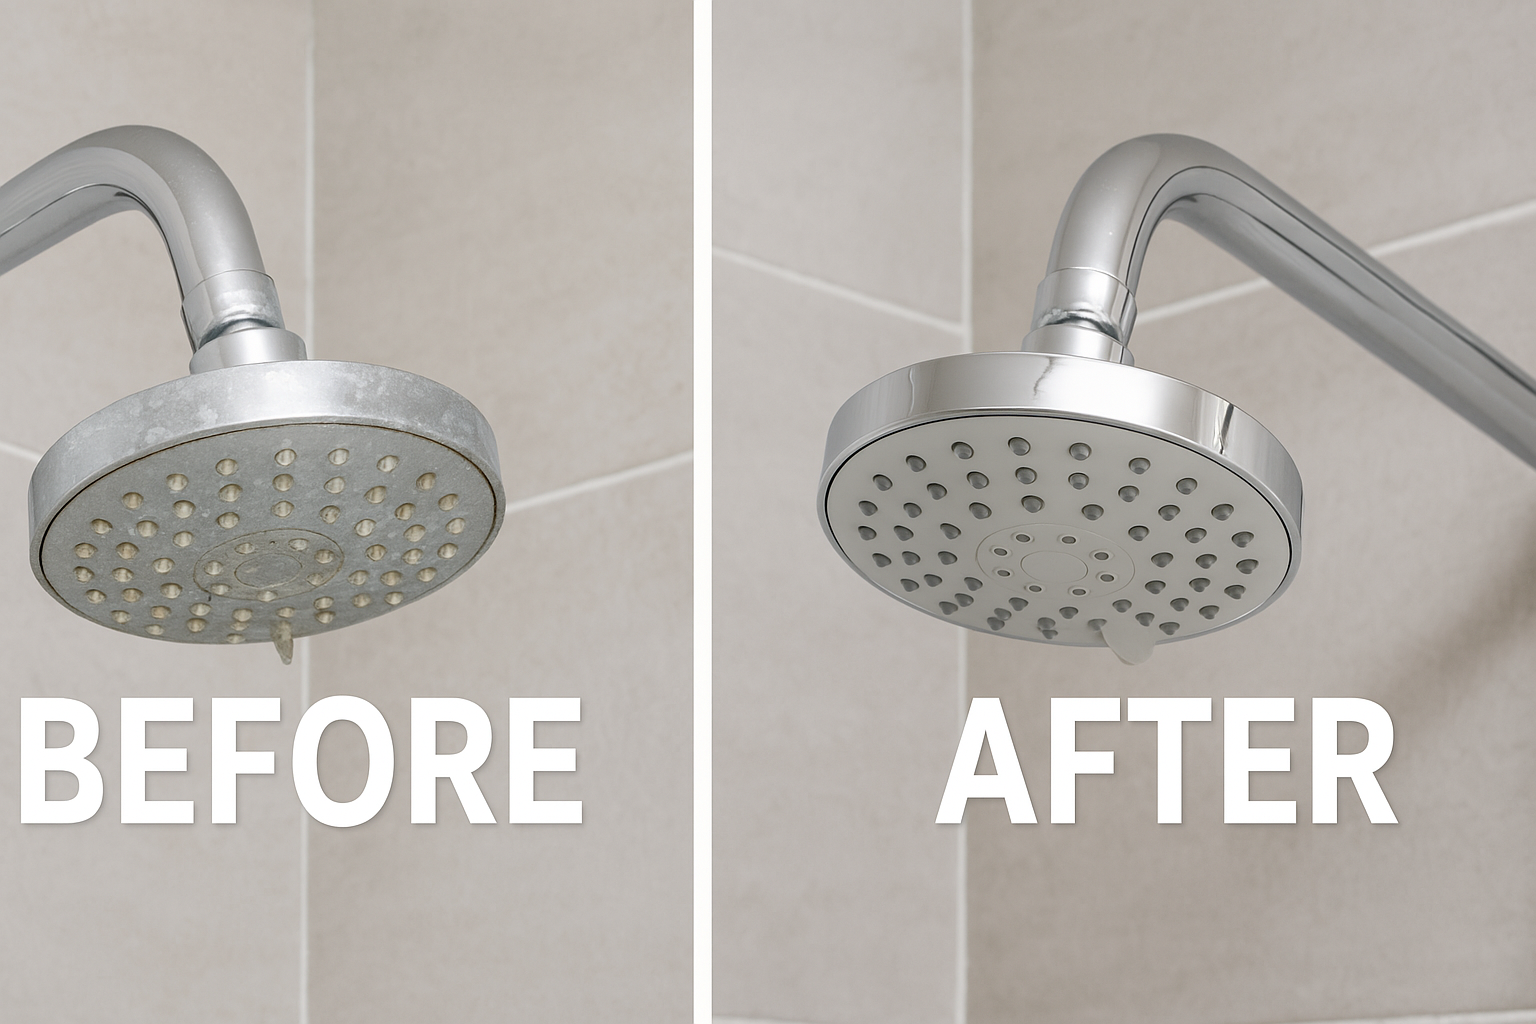
If your shower head drips after you turn it off, or the water flow seems weak or uneven, mineral build-up could be to blame. Limescale and debris from hard water can clog the nozzles and cause leaks at the base or even down the pipe.
How to Fix It:
Unscrew the shower head from the arm.
Soak it in white vinegar for at least 30 minutes (overnight if there’s heavy limescale build-up).
Scrub the nozzles and joints with an old toothbrush or small wire brush to remove any softened limescale or grime.
Rinse thoroughly under running water, then wipe dry.
Wrap the threads with Teflon tape and screw the shower head back on.
Tip: If your shower head has a rubber faceplate, gently rub the nozzles with your fingers to dislodge any stubborn debris clogging the shower head.
Also read: How to Change a Shower Head
Fixing a Faulty Cartridge Valve
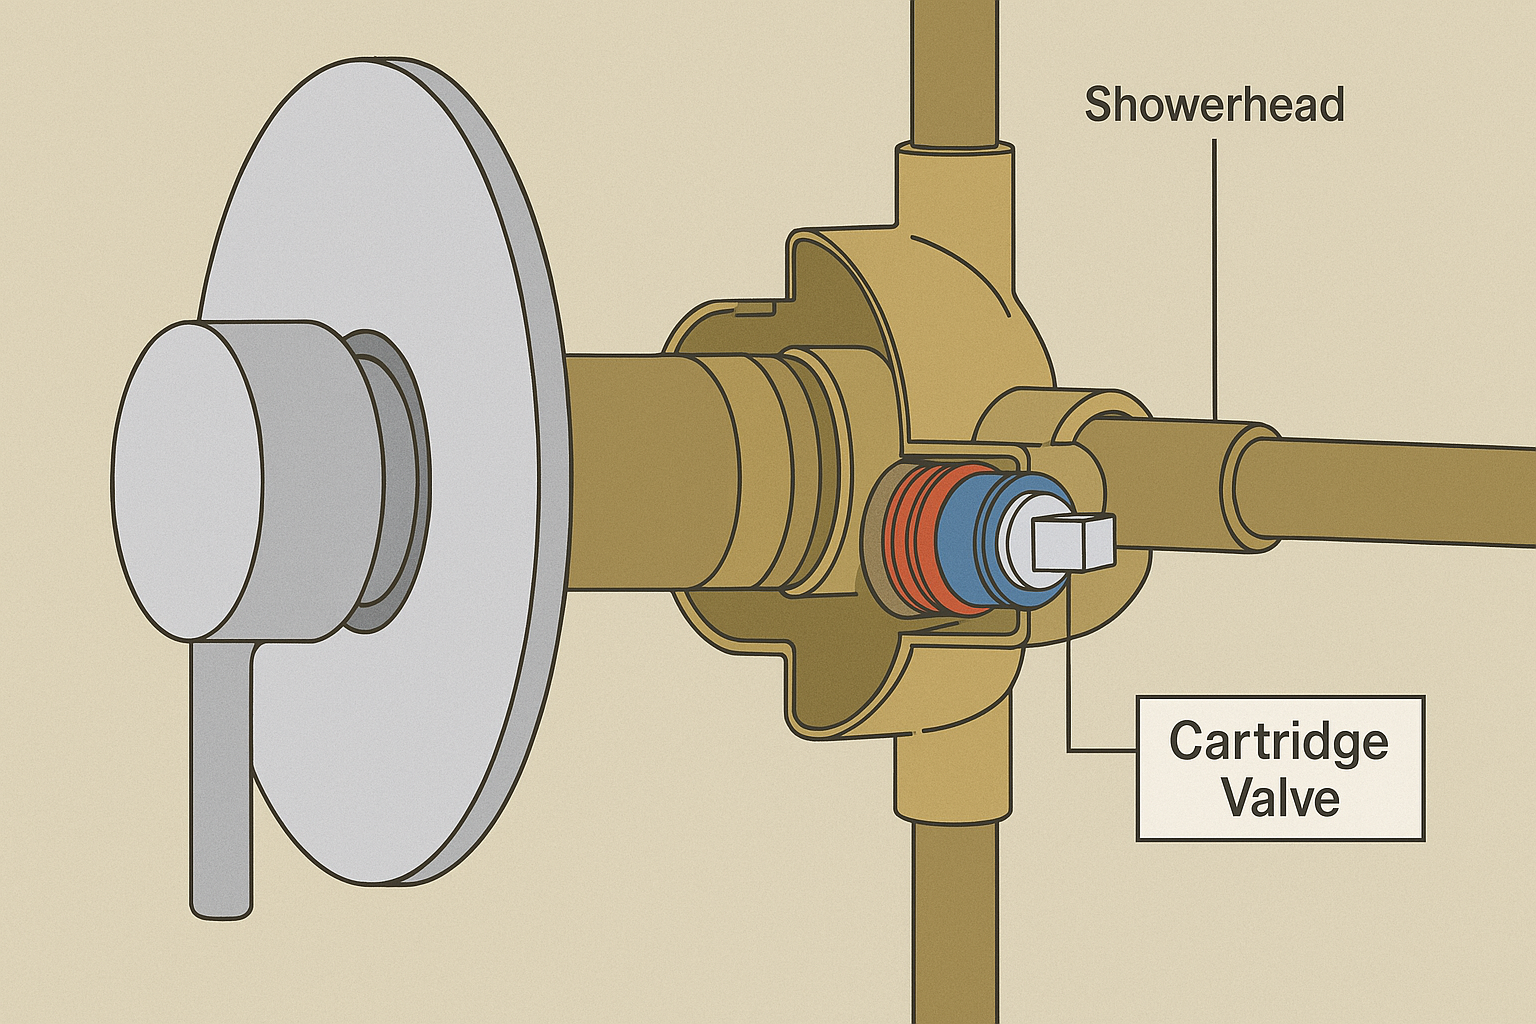
If your shower head keeps dripping even when the tap is firmly turned off, chances are the problem isn’t the head — it’s the cartridge valve inside the wall.
Not all showers use a single control. Some older setups still have two separate valves — one for hot and one for cold — and each can leak if the internal washer or cartridge fails. This valve controls the flow and mix of hot and cold water. When it wears out, water can leak through even in the “off” position.
How to Fix It:
Shut off the water supply to the bathroom or the whole house.
Remove the handle and faceplate to access the valve stem (you may need a screwdriver for this).
Take out the cartridge, noting its size and shape — this step might need pliers or a cartridge puller, depending on the model.
Replace it with an identical new cartridge. Bring the old one to the shop or check the brand/model number for a match.
Reassemble everything, turn the water back on, and test for water leaks.
Tip: Cartridges aren’t one-size-fits-all. If in doubt, take a photo or bring the part with you to your local hardware store for help finding the right fit.
How To Replace a Thermostatic Cartridge Valve
Replacing a Defective Diverter Valve
If water is leaking from the shower head while you’re trying to run the bath, or vice versa, your diverter valve could be worn out. This part controls where the water flows — to the tap or the shower head.
A faulty diverter can let water sneak through the wrong outlet, causing drips even when the shower isn’t in use.
How to Fix It:
Turn off the water supply before you start.
Remove the handle and cover plate to access the diverter valve.
Depending on your setup:
For lever-style diverters, remove the handle and unscrew the diverter assembly.
For tub spout diverters, you may need to unscrew the whole spout to reach the part.
Check for wear or damage to the valve or seals. If damaged, replace the diverter with an identical model.
Clean the area, reassemble the components, and turn the water back on to test.
Tip: If your diverter is stuck or hard to turn, try soaking it in vinegar before replacing — sometimes a good cleaning is all it needs.
Maintenance & Prevention Tips
Once you’ve fixed the leak, a bit of simple upkeep can help stop it from happening again.
Clean your shower head regularly – soak it in white vinegar every few months to stop limescale from building up.
Check washers and seals once a year – Replacing them is cheap and can prevent future leaks.
Watch out for early signs – A slow drip, weaker water flow, or water where it shouldn’t be usually means something’s wearing out.
Keep your bathroom ventilated – Good airflow helps prevent mould from forming around seals or fittings.
Inspect your connections – Give the shower head a quick once-over during cleaning. If anything feels loose, tighten it up before it becomes a problem.
Tip: If you spot water pooling around the base of your shower or find moisture in places it shouldn’t be, deal with it early — it could be a small seal issue or a sign of something deeper.
When to Call a Professional Plumber
Most leaking shower heads can be fixed with a screwdriver, some tape, and a new washer — but not every problem is a quick DIY win. If you’ve tried the basics and the drip keeps coming, or if the issue seems to be deeper in the plumbing, it’s time to bring in a professional.
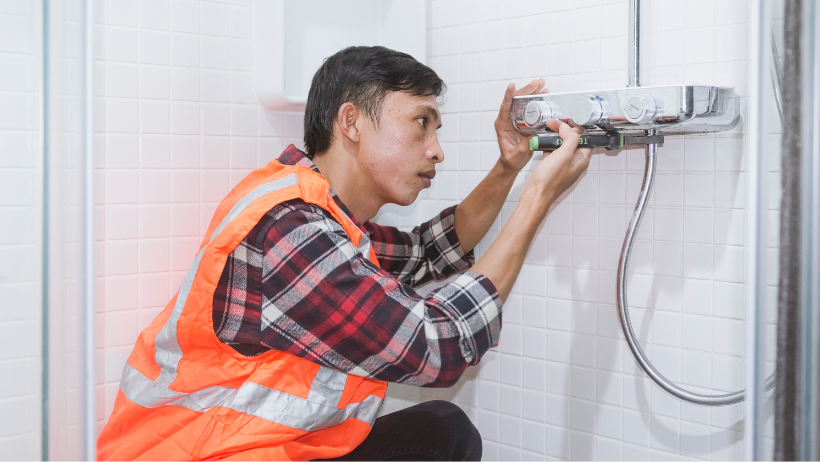
Call a plumber if:
The shower head still drips after replacing parts like washers or cartridges
You notice leaks behind the wall, inside the valve housing, or from pipes
There are signs of mould or damp around the wall or floor
The water pressure is erratic or drops suddenly
The valve or diverter is completely stuck and won’t budge
You’re not confident working with plumbing fittings or internal shower parts
A persistent leak can lead to long-term damage. Water seeping behind tiles or into the floor can cause rot, mould, and even affect the structure beneath your shower. What starts as a small drip can turn into a major repair if left unchecked.
If you’re not confident tackling it yourself, it’s worth getting a trusted quote from a local professional — you can often find someone for as little as £99 on Bark.com. Catching the problem early could save you a much bigger bill later.
Conclusion: Stop the Drip, Save the Day
A leaking or dripping showerhead might seem like a small annoyance — until it starts affecting your water bill, your walls, or your sanity. The good news? With the right tools and a bit of know-how, most of these issues are easy to sort yourself.
Whether it’s a worn washer, a clogged nozzle, or a faulty valve, tackling the problem early can save you time, money, and a lot of frustration. And if it turns out to be something more complex, getting a professional in is a smart move — especially before small leaks turn into big damage.
Got a question about your leaky shower head? Or maybe you’ve tried one of the fixes above and want to share how it went? Drop your comment below — we’d love to hear from you.